Quick start
The following links are suitable for a quick start:
How do I enter my own account details?
How do I create and save transfers?
What you should bear in mind for direct debits
How do I enter my own account details?
If you want to change your account details afterwards, please open the settings in the "Extras" tab.
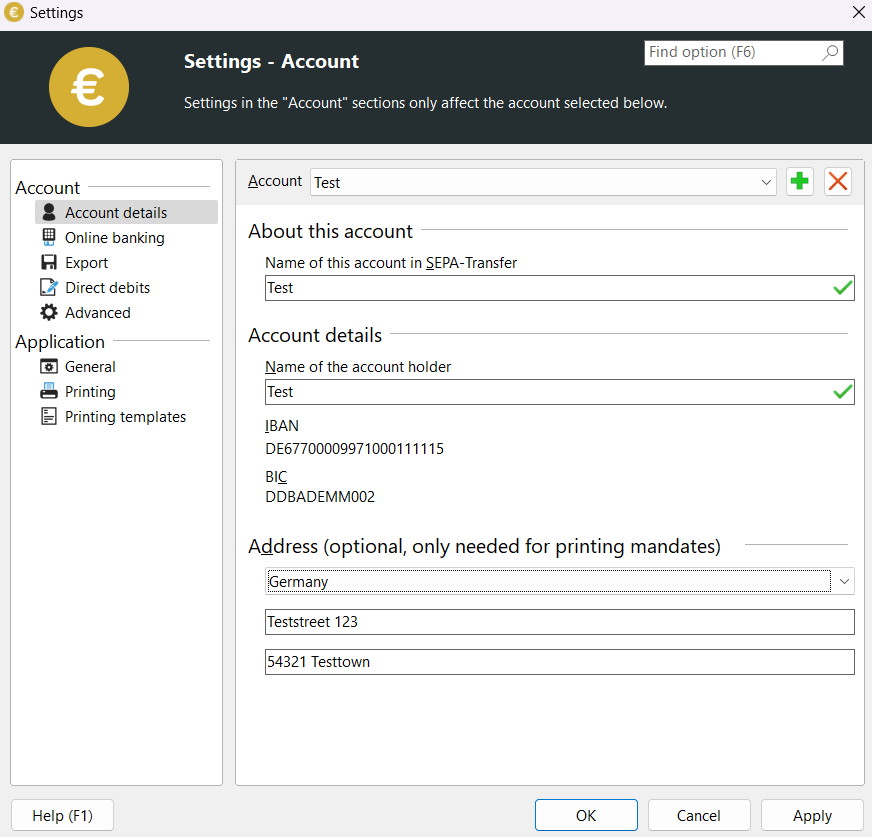
Settings" dialog
The buttons next to the account selection are used to add a new account, delete the current account and print an account overview.
To set up your account for online banking, please refer to the chapter Homebanking via HBCI.
Saving bookings on a data carrier
To save transactions on a data carrier, you must first enter the transfers in the main form. To do this, enter the account details of the recipient of the transfer in the same way as for a written transfer form. The recipient's financial institution will be added automatically.
If you have already saved templates, SEPA-Transfer will suggest one of the templates while you are typing. Press the 'Enter' key to accept this template.
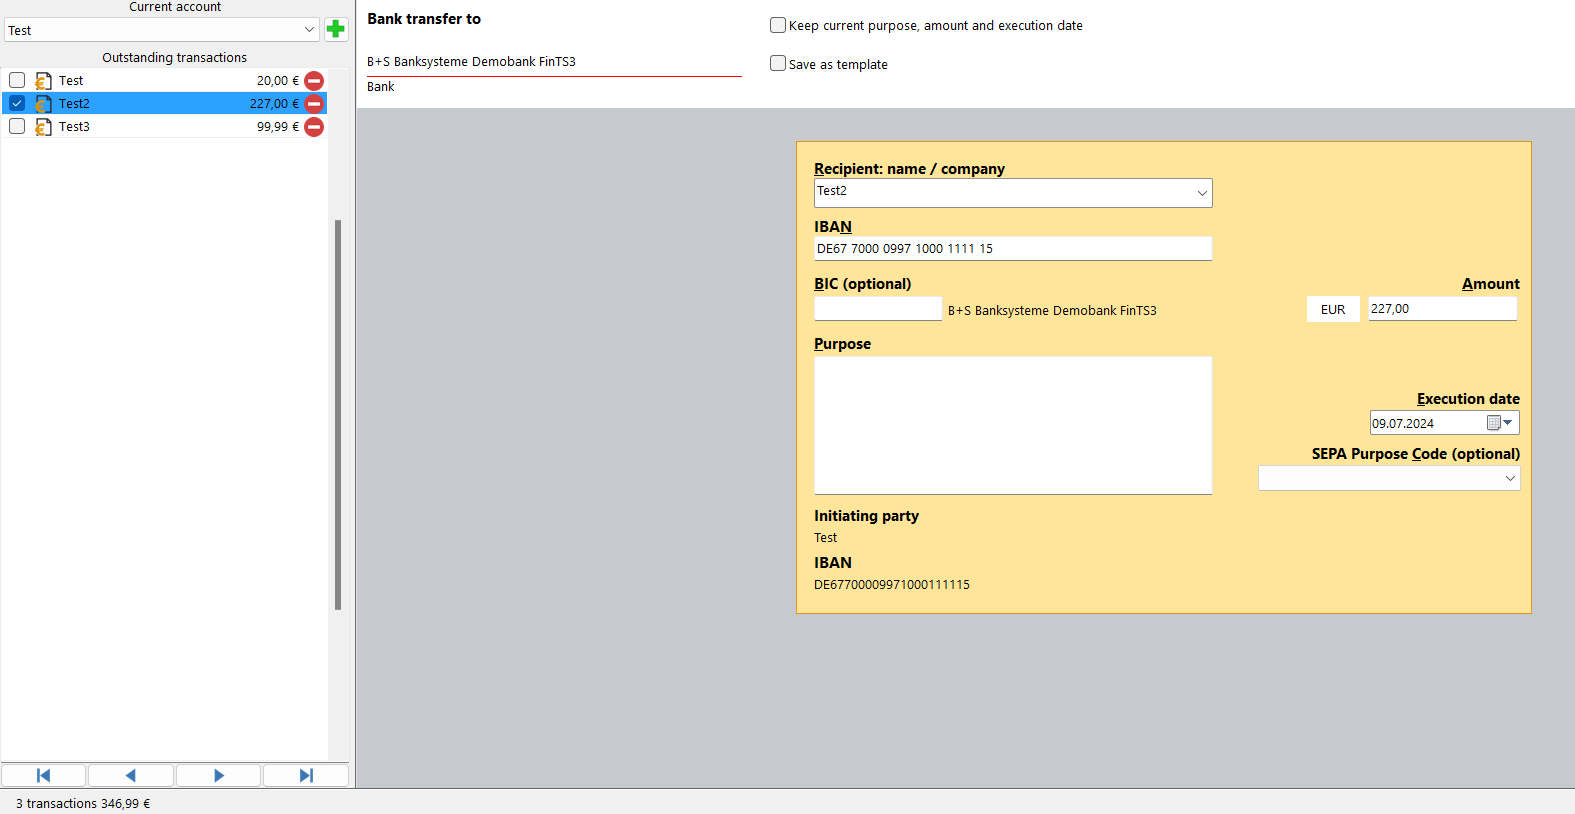
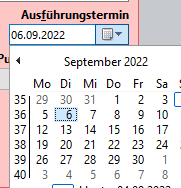
If you want SEPA-Transfer to save this transfer on a specific date, you can click on the small arrow at the bottom right ("Execution date"). A calendar will open in which you can select the desired date.
After entering the data, you can validate it by clicking on the "Check and save" button. If the form contains formal errors or an invalid bank sort code, this will now be displayed. You can use the "Delete booking" button to delete bookings you have entered.
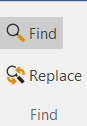
The basic functions for editing, such as copying, cutting and pasting, can be accessed via the corresponding buttons in the "Edit" group on the "Edit" tab.
You have now entered your first booking. You can either export it or add further transfers. When you exit the program, all entered payment transactions are of course saved and will be available again immediately the next time you start the program.
You can create a new transfer using the "Create new booking" command in the "Edit" menu.
On the left you will see a list of the current bookings that have not yet been sent to the bank. You can navigate between the open transfers and direct debits using the four arrow buttons below this list.
To create a SEPA file, select the "Create SEPA file" command in the "Import / Export" menu. The following dialog opens:
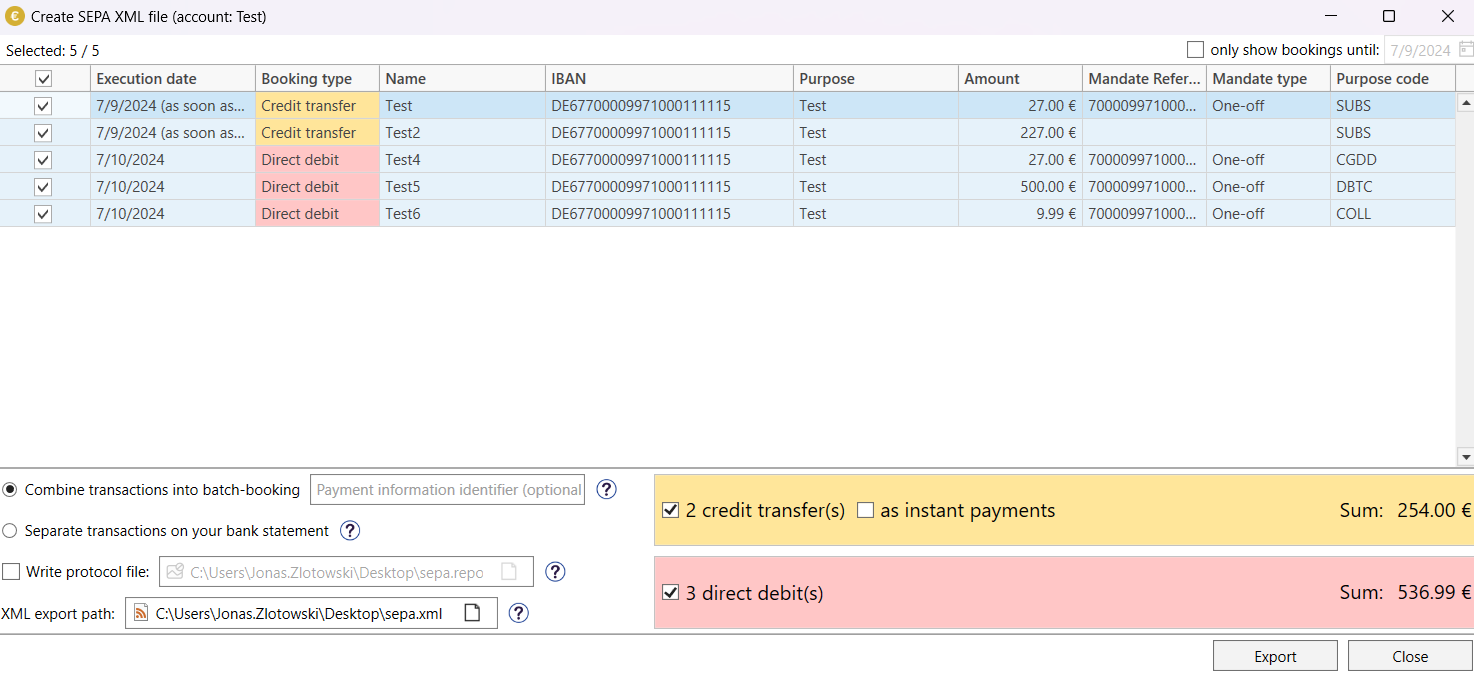
You will first be shown all transfers that have not yet been saved. List entries highlighted in red contain errors that you should correct before continuing. By clicking on "Next", all bookings are transferred to the file and marked as "no longer open", i.e. including those to which a future transfer date has been assigned. They are then no longer visible in the main form.
If you have assigned a future execution date to bookings, you can click on the white circle next to 'Open bookings to date' above the preview. The transfers that are not yet current are filtered out in this way and remain 'Open' when you save the remaining postings and are still available in the main form.
What you should note for direct debits
Please note that direct debits and credit transfers cannot be saved together in a SEPA file.