This chapter will help you if you needeither local multi-user operation (all users of the local computer) or if you need network operation (several users with different computers) for SEPA-Transfer so that everyone can work on the same database.
This chapter explains:
•The principle of data storage
The principle of data storage
SEPA-Transfer uses an Access database as central data storage. This can be stored at a different location in the file system after installation. To do this, you can specify the path under "Data storage" in the "General" section of the settings dialog.
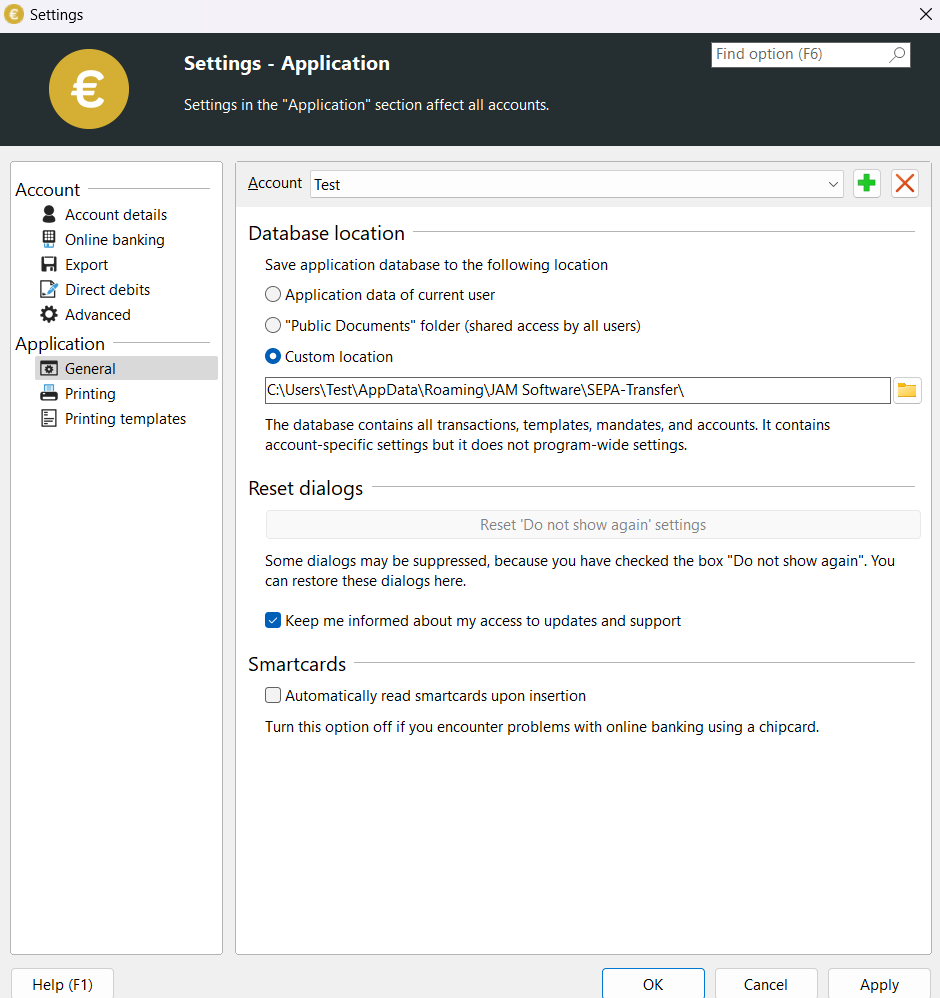
Illustration of the settings dialog with data storage
Multi-user operation
Two steps are necessary to give several users of the computer access to the shared database.
•In the first step, the user who installed SEPA-Transfer stores the database in the shared data.
•In the second step, another user assignsSEPA-Transfer this path as the database path.
Step 1: Storing the database under "Shared data"
To grant all users of the local computer access to the data storage, it is sufficient to activate the "Shared data" item in the settings dialog under "Program", "Data storage". After clicking on "OK" ,SEPA-Transfer will automatically copy the database there.
Step 2: Assigning the database path for other users
All other users of the computer are automatically prompted to specify the data storage directory when using SEPA-Transfer for the first time. In this case, the "Shared data" item must also be selected. If this is not the first use of SEPA-Transfer, the path must be changed manually via "File", "Settings". After clicking on "OK" ,SEPA-Transfer draws your attention to the fact that a database has already been found in the target directory and whether this should be overwritten. Normally you must click "No" here, otherwise the database will be overwritten.
Network operation
To give different users in the network (from different computers) access to the database, two steps are necessary.
•In the first step, a user stores the database in a network path.
•In the second step, another user assigns this path to the local installation of SEPA-Transfer as the database path.
Step 1: Storing the database in a network path
Open the settings dialog (see above). Under "Program", "Data storage", select the item "User-defined directory". Now enter the network path here (see example).
After clicking on "OK", SEPA-Transfer will automatically copy the database there. Sometimes SEPA-Transfer will tell you that a database has already been found there and ask you whether it should be overwritten. Be aware of whether you select "Yes" or "No". If you select "Yes", you will overwrite a previous database in the network. In step 1, this database file should not yet be there.
Step 2: Assigning the network path for other computers / users
All other users must also enter this network path in the settings dialog under "Data storage" and click "OK". Then SEPA-Transfer will notify you that a database file has already been found in the directory and whether it should be overwritten. Be sure to click "No" here, otherwise the database in the network path will be replaced by the local one.
Please note that (regardless of the computer) every user of SEPA-Transfer must be assigned this network path if they are to have access to the shared database.